
Pull-ups are one of the more challenging bodyweight workouts that take time and practice to master. Here’s how you can use exercise bands to do assisted pull-ups and contribute to a pull-up progression training routine.
Pros and Cons of Resistance Band Pull-Ups
When it comes to using pull-up assist bands, the pros outweigh the cons. In addition to being portable and versatile, a pair of durable bands are the perfect tool to strive toward your first pull-up. You can use the bands to help support your weight throughout the movement or add a bit of resistance as you progress. Exercise bands are affordable, effective, and help with injury prevention as you try new exercises.
However, some advanced athletes and personal trainer types refuse to use pull-up bands. The logic behind this mindset is sound. Using a pull-up assist band as your only form of pull-up training is limiting; progressing requires all kinds of exercises that support the muscles targeted by pull-ups. Cross-training to build upper body strength and muscle growth in the lats, rhomboids, traps, deltoids, biceps, and core is a must. Relying on fitness bands for assistance without cross-training means you’ll likely rely on bands forever.
Another argument against training with resistance bands for pull-up progression is how the resistance level changes throughout the range of motion. Bands offer more assistance toward the bottom of the movement, with limited assistance at the top of the pull, so while you might make it out of the hole when you try an unassisted pull-up, you’ll still have a difficult time getting your chin over the bar. However, that’s where negatives come in to save the day.
Pull-Up Progression Exercises
Dead Hang
Before you can pull your body weight up, you must first be able to support your body weight with your grip strength. Don’t feel bad if you struggle with this aspect of fitness training; even those who complete full-body workouts every other day often struggle with hanging exercises.
With a dead hang, you’ll hang from a pull-up bar and maintain a braced core in a passive hang position to train your grip strength. Start by aiming for periods of 30-60 seconds, allowing for rest in between. You can complete your dead hang training at the start or end of any strength training routine, even if you don’t plan on trying assisted pull-ups for a while. Building grip strength will carry over into your deadlift and rows.
Scapular Pull-Ups
Scapular pull-ups not only support growth in the upper body muscles, but they’re also ideal for warming up your shoulders before performing other upper body exercises. Adding these to your progression will help maintain shoulder health while building the strength you need to do a pull-up.
Pull-Up Negatives
How to:
- Grab the bar with your using an overhand grip with your hands placed just outside shoulder width.
- Retract your shoulders and ensure your chin is above the bar. Keep your core tight as you leave the box, stepping or lightly jumping as needed.
- Squeeze your core and pause for a second before slowly lowering yourself down to full extension, completing the rep. Let go and reset to do the subsequent reps.
When you start with negative pull-ups, you may reach extension fairly quickly. Over time, you should be able to extend the tempo to five seconds. If your first few negatives are only one second long, don’t feel discouraged; this is a part of the process. As you progress, consider increasing the resistance level with a weighted best or by securing lighter bands to a weight belt and creating tension by affixing them to the bottom of the rack.
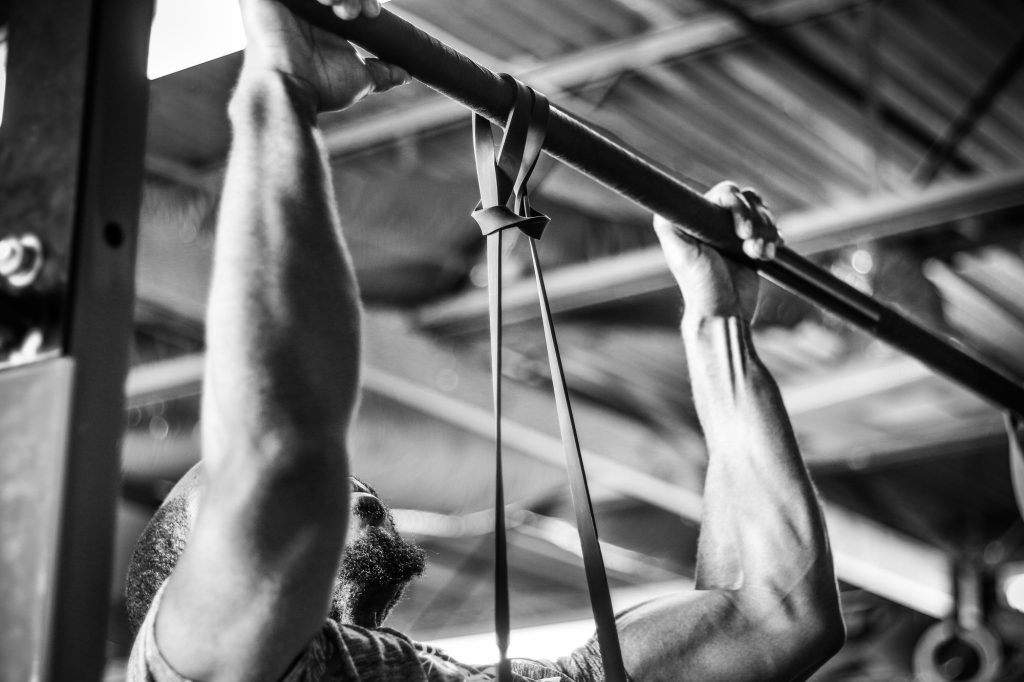
Assisted Pull-Ups with Bands
How to:
- Loop a resistance band over the pull-up bar, tucking one end through the other and pulling the band taut to create a secure loop.
- Grab the bar with your using an overhand grip with your hands placed just outside shoulder width. Step into the band with one foot, letting the band rest about mid-sole. This is your starting position.
- Brace your core, retract your shoulder blades, squeeze your glutes, and pull yourself up, bending your elbows as you ascend.
- When your chin is over the bar, pause and slowly release back to the starting position. That’s one rep.
Pro tip: do not listen to advice on the internet that tells you to slide the band over your knee, or it will slide off and hit you in the face at some point. Maybe not today. Maybe not tomorrow. But someday.
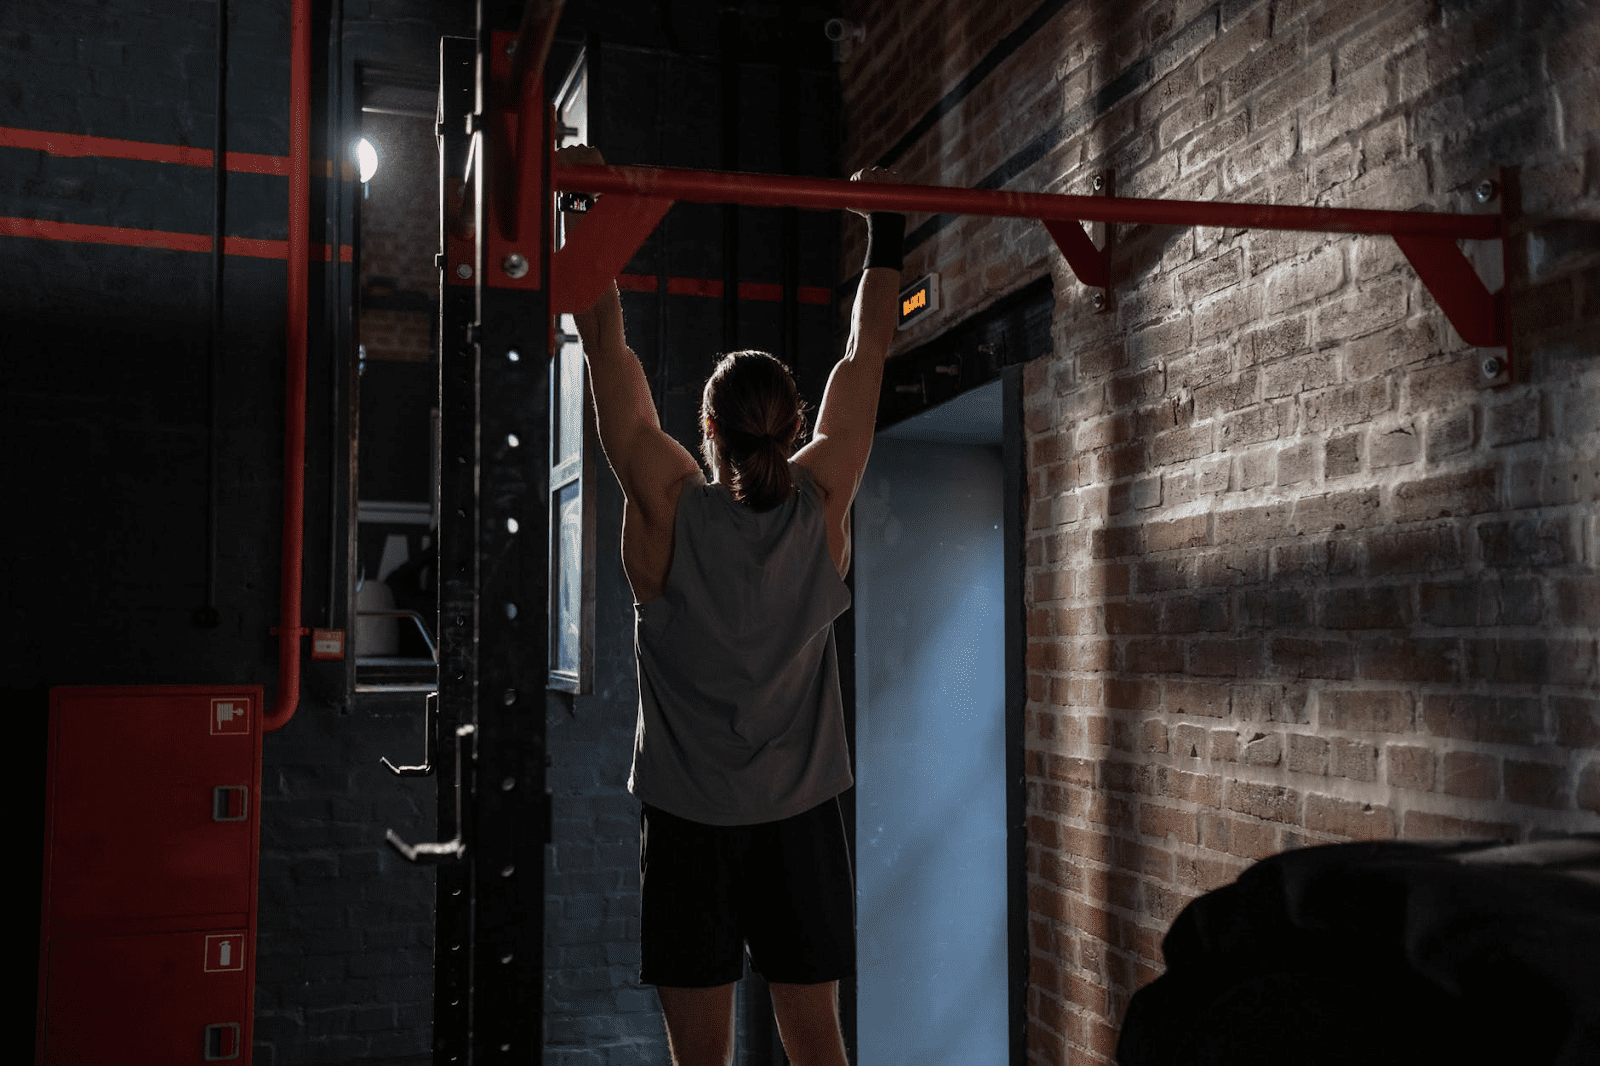
Strict Pull-Ups
How to:
- Grab the bar with your using an overhand grip with your hands placed just outside shoulder width. Step into the band with one foot, letting the band rest about mid-sole. This is your starting position.
- Brace your core, retract your shoulder blades, squeeze your glutes, and pull yourself up, bending your elbows as you ascend.
- When your chin is over the bar, pause and slowly release back to the starting position. That’s one rep.
Maintaining control is essential for proper form. Letting yourself fall quickly will result in shoulder pain. This is also one of the more difficult exercises for heavier athletes, as you are moving your own body weight.
How to Choose Resistance Band for Pull-Ups
Now that you know to do pull-up progressions, it’s time to answer the top question about resistance band pull-ups: which band should I use.
You may need a thicker band to get started. However, if you’re not experiencing any tension or feel like you’re pulling weight, you should drop to a medium resistance band. If you find a heavier band is too much, but the medium band isn’t enough, pair a medium band with a lighter resistance band. This approach also makes it easier to scale as you progress.
Pull-Up Accessory Exercises
No matter what your fitness level, cross-training and targeting those back muscles is a must for progressing with your pull-up goals. Some of the best supporting exercises include:
- Dumbbell rows
- Bent over rows
- Inverted rows
- Ring rows
- Lat pulldown
- Resistance Band Face Pulls
- Bicep curls
- Overhead press
- Planks
Keep in mind that lifting heavy weights then trying to train pull-ups may fatigue your muscles and limit your results. Plan accordingly.
Did You Know?
The world record for pull-ups completed within 24 hours is 7,715, set by former Army ranger, Brandon Tucker. He beat the previous record by 115 pull-ups.
Final Thoughts
Resistance bands aren’t the be-all-end-all of pull-up training, but they’re a big help. Combine your resistance band pull-ups with dead hangs, negatives, and other strength training efforts for success. It will take dedicated time and training to nail your first unassisted pull-up. From there, it’s all smooth sailing.