
Ready to finally master the one-arm push-up?
Being able to do this advanced gymnastics exercise is a sign of serious upper body strength, and is absolutely a feat the average person can’t do.
Whether they’re part of your fitness goals, or you just want them in your back pocket as a parlor trick, this one armed pushup progression will help you get there. You don’t have to have handstand pushups or even be able to do a ton of pull ups to follow along!
One Handed Pushup Progression Explained (6 Steps)
Follow this 6 step one arm pushup progression to master this body weight exercise. It’s also a great way to build up your chest muscles as well as your triceps and shoulders.
Read Also: At Home Strength Training Workouts for Women
The key, regardless of which step you start on, is consistency. Perform at least 3 sets a day at the level you’re on and add a repetition to each set daily. This increases both intensity and volume, which will help you get to level 6 the fastest!
1. Regular Push-ups
The foundation of the one-arm push-up is, you guessed it, being able to do a ton of perfect regular push ups first
One arm push-ups-and other advanced gymnastic exercises-are about body control more than anything else. Building up the requisite strength in your chest, triceps and shoulders is the first thing you need to be able to do.
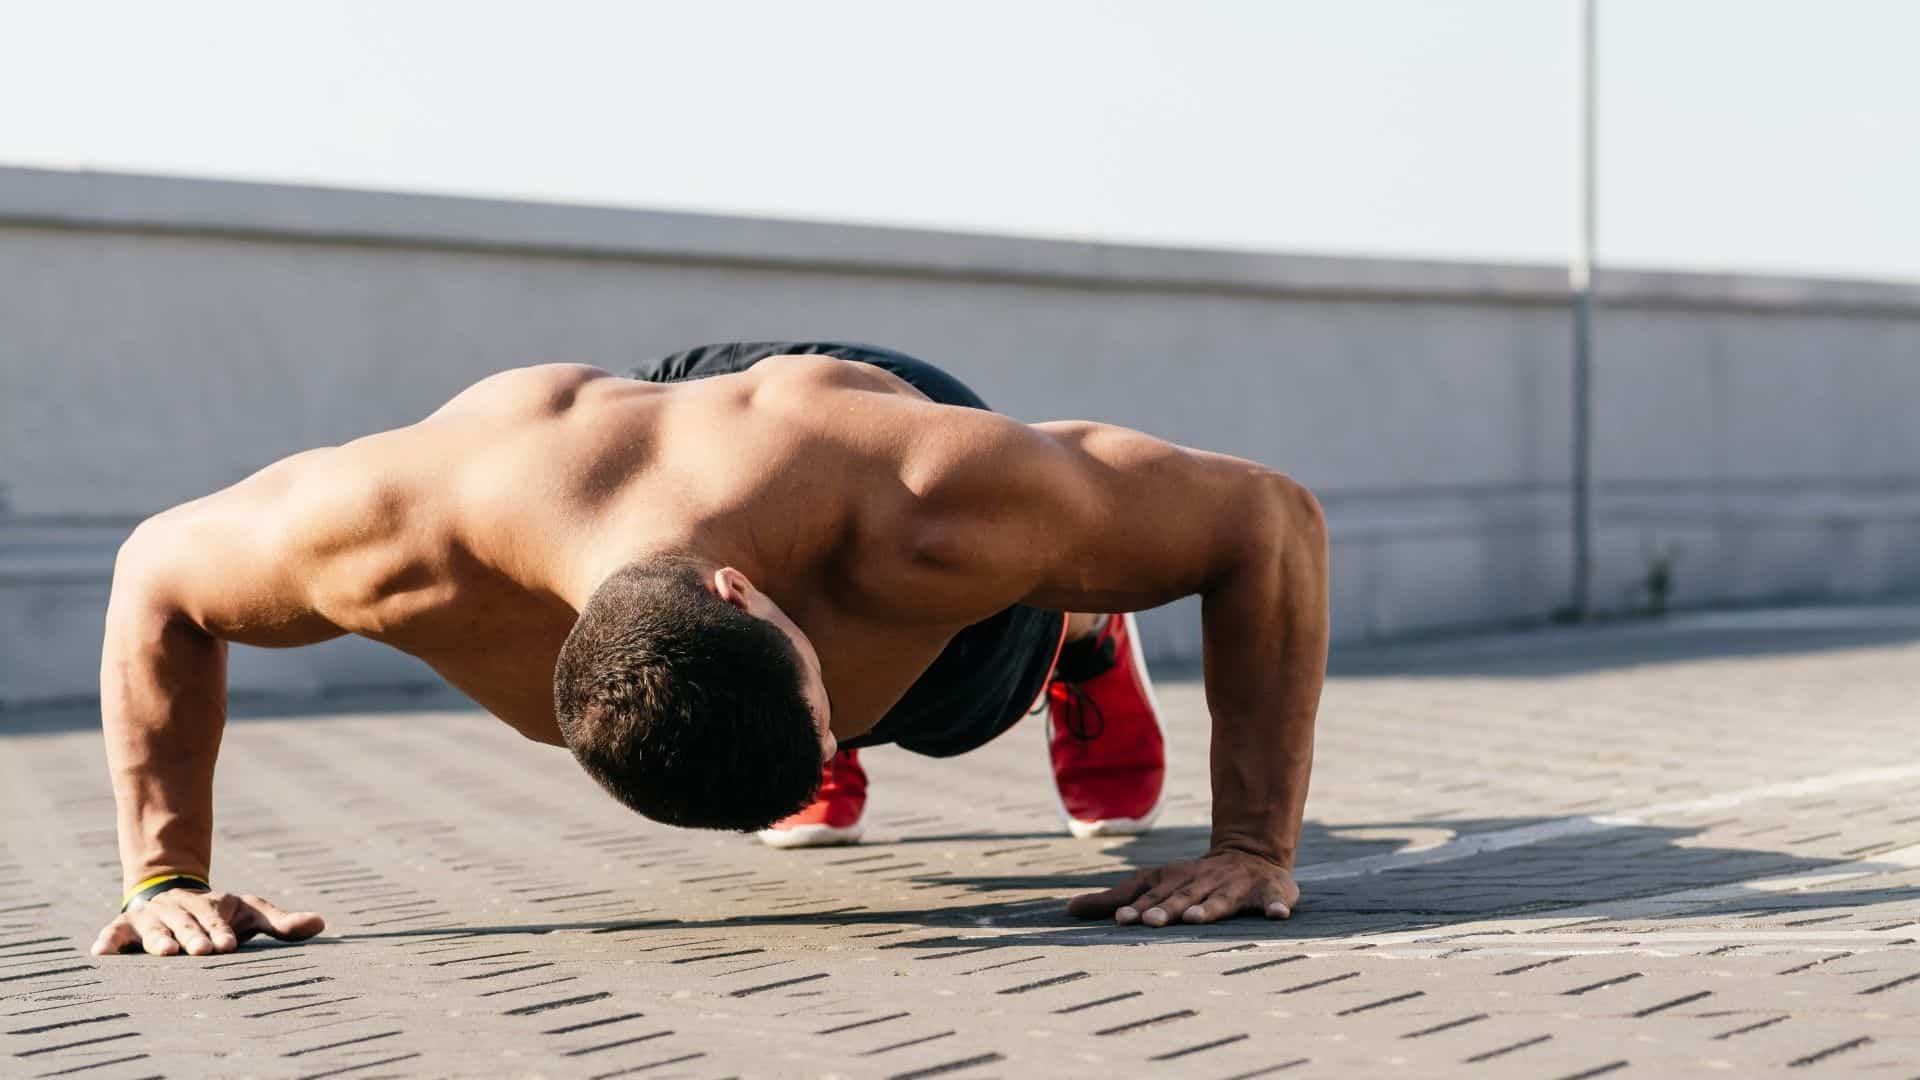
To do push-ups:
Start on the ground with your hands shoulder width apart.
- From the top of a plank position, lower your chest and thighs to the ground; keep your entire body tight.
- Avoid letting the elbows “flare” out-45 degree angle is good for now.
- Push up from the bottom and repeat.
Be sure to lock out each rep and get full ROM on each rep. If your push-ups are weak, start by doing 3 sets of 10 to 15 with a short rest. Do this each day, increasing your rep total by 1 until you get to 30.
Goal before advancing: 30+ regular push-ups
Read Also:
2. Tucked Elbow Push-ups
A few weeks of doing push-ups daily will prepare you for phase 2. Next, you’re going to hone your push-ups by keeping your elbows tucked tight to your body. Follow the same cues, but pinch your sides as you go down instead of keeping them at a 45-degree angle.

This step will build incredible tricep and core strength.
Goal before advancing: 30+ tucked elbow push-ups
Related: Push ups vs Bench Press – Know which one is right for you now
3. Diamond Push-ups
Phase 3 really works on improving the strength of your triceps , and helps you get used to performing push-ups from a wide base.

To do these, touch your thumbs and index fingers together in a narrower-than-shoulder-width position. Place your feet further than shoulder-width apart for balance—this is seriously good for core strength, too.
Goal before advancing: 25+ diamond push-ups
4. Assisted One-arm Push-ups
You’re getting there! Once you’ve got 25+ diamond push-ups in the bag, we’ll move onto assisted one-arm push ups.
To do this, set up with a single parallette bar or push-up handle (handles are easier because they’re lower to the ground).
Practice descending to the ground bending one elbow at a time and pressing back up. Keep the assisting arm straight, or bend it gently to provide support that helps you come up from the bottom.
Even with all the push-up strength you’ve built, you may still need to start at 3 sets of 3 or 5 repetitions. As the days go by, keep increasing reps by one.
Goal before advancing: 15+ assisted one arm push-ups
Read Also: Top 6 Best Push-up Bars (2020 Review)
5. Elevated One-Arm Push-up
Final step before pay dirt! Spend a few days or weeks practicing elevated one-arm push-ups. You can use a bench, a countertop, or even TRX bands to mimic this.

Remember: the higher the object, the easier it is. Your goal is to get your body as horizontal as possible when practicing these while maintaining good form.
Goal before advancing: 15+ elevated one-arm push-ups on a standard bench press bench
6. One Arm Push-ups
At 15 elevated one-arm push-ups, you should have the strength to knock out at least one full one-arm push-up on each side.
If not, start with one-arm push-up negatives. From the top of the one-arm push-up with a wide base, descend as slow as you possibly can to the ground. Then set yourself up at the top again and start over.
Keep practicing and advancing a few reps at a time and you will absolutely get there!
Goal before advancing: Get that first rep! (Then as many as you want from there.)
For more exercise guides and ways to increase upper body strength, check out our training section. Good luck!